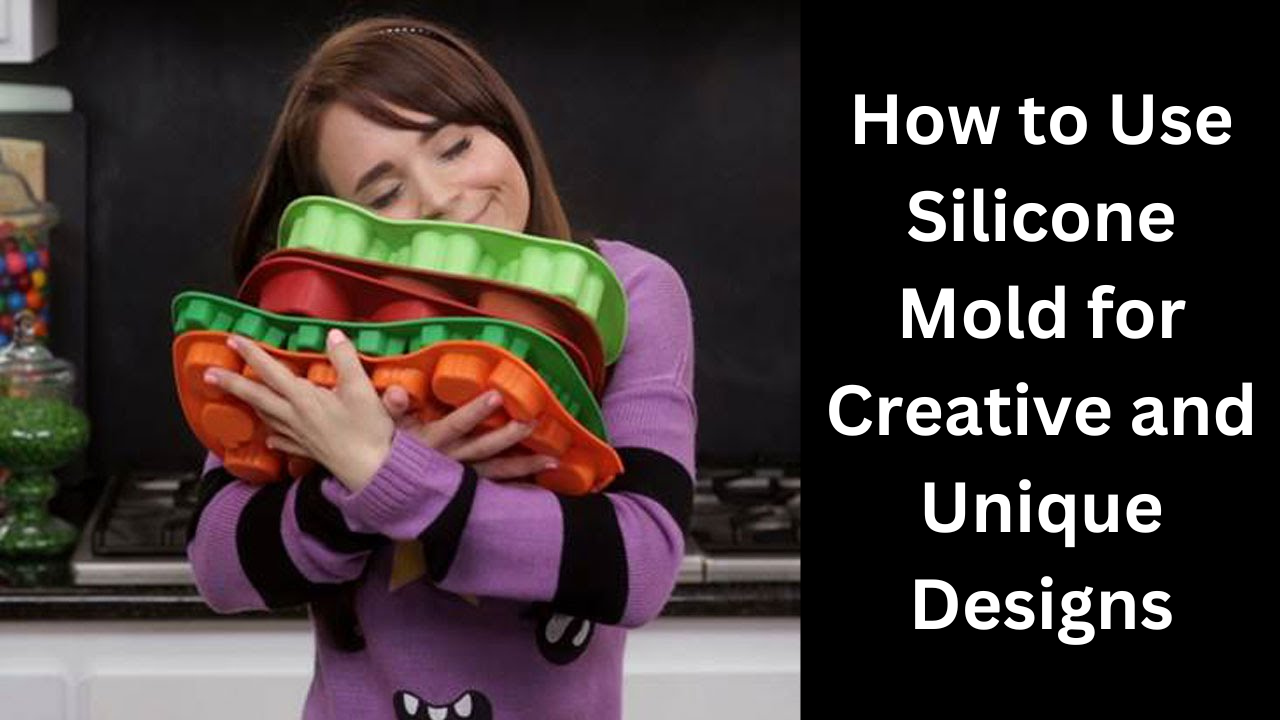
Different Uses of Silicone Mould for Creative Designs
Silicone molds are a versatile tool for creating unique and creative designs in the kitchen. Silicone molds can be used for various purposes, From soap to candy making. They are easy to use and come in multiple shapes and sizes, making them perfect for both beginners and experienced creators. This article will discuss how you can use silicone mold to create unique designs and their benefits.

Benefits of Using Silicone Mold
Non-Stick Surface:
One of the most significant benefits of silicone mold is its non-stick surface. A non-stick surface makes it easy to release your creations without worrying about breaking or becoming stuck to the Mold.
Flexibility:
Silicone molds are flexible, making them easy to bend and fold to help release your creation. Bending and folding also makes them great for creating intricate designs that would be difficult to achieve with other materials.
Durability:
Silicone molds are durable and long lasting, making them an excellent investment for creating unique kitchen designs. They can withstand high temperatures and will not crack or break easily.
Accessible to Clean:
Another benefit of silicone mold is its easy-to-clean surface. Wash the silicone with soap and water, and it is ready to use again.
Using Silicone Mold for Soap Making
Choose Your Mold:
When choosing a silicone mold for soap making, look for one that is food-grade and has a non-stick surface. Many different shapes and sizes are available, so choose one that will fit your needs.
Prepare Your Soap Mixture:
Once you have chosen your Mold, you will need to prepare your soap mixture. You can use a store-bought soap base or make your own using a combination of ingredients such as glycerin, essential oils, and colorants.
Pour the Soap Mixture into the Mold:
Once your soap mixture is ready, pour it into the silicone mold. Make sure to fill the Mold and tap it gently on the counter to remove any air bubbles.
Allow the Soap to Set:
After you have poured the soap mixture into the Mold, allow it to set for at least 24 hours. Mold will ensure that the soap is fully hardened and ready to use.
Remove the Soap From the Mold:
Once the soap has been set, gently bend and flex the silicone mold to release the soap. You may need to run a butter knife around the edges to help remove the soap from the Mold.


Using Silicone Mold for Candy Making
Choose Your Mold:
When choosing a silicone mold for candy making, look for one that is food-grade and has a non-stick surface. Many different shapes and sizes are available, so choose one that will fit your needs.
Prepare Your Candy Mixture:
Once you have chosen your Mold, you will need to prepare your candy mixture. You can use store-bought candy or make your own using ingredients such as sugar, corn syrup, and food coloring.
Pour the Candy Mixture into the Mold:
Once your candy mixture is ready, pour it into the silicone mold. Make sure to fill the Mold and tap it gently on the counter to remove any air bubbles.
Allow the Candy to Set:
After you have poured the candy mixture into the Mold, allow it to set for at least 30 minutes. The Mold will ensure that the candy is fully hardened and ready to use.
Remove the Candy From the Mold:
Once the candy has been set, gently bend and flex the silicone mold to release the candy. You may need to run a butter knife around the edges to help remove the candy from the Mold.
Using Silicone Mold for Baking
Choose Your Mold:
When choosing a silicone mold for baking, look for one that is heat-resistant and has a non-stick surface. Many different shapes and sizes are available, so choose one that will fit your needs.
Prepare Your Batter:
Once you have chosen your Mold, you will need to prepare your batter. You can use store-bought mixes or make your own using a combination of ingredients such as flour, sugar, and eggs.
Pour the Batter into the Mold:
Once it is ready, pour it into the silicone mold. Make sure to fill the Mold and tap it gently on the counter to remove any air bubbles.
Bake the Batter:
After pouring the batter into the Mold, please place it in the oven and bake according to the instructions. Silicone molds are heat-resistant and will not crack or break in the range.
Remove the Baked Goods from the Mold:
Once the baked goods have finished baking, remove them from the oven and cool them for a few minutes. Then, gently bend and flex the silicone mold to release the baked goods. You may need to run a butter knife around the edges to help remove the baked goods from the Mold.
Using Silicone Mold for Making Candles
Choose Your Mold:
When making candles, you can choose a silicone mold with the right size and shape for your candle-making needs. You can also select a mold with a unique design to give your candles a creative touch.
Melt the Wax:
To make candles, you must melt wax in a double boiler or microwave. You can use paraffin wax or beeswax, depending on your preference.
Pour the Wax into the Mold:
Once it has melted, pour it into the silicone mold. You can add essential oils, fragrances, and colorants to give your candles a unique scent and color.
Allow the Wax to Set:
Once you have poured the wax into the Mold, allow it to set for several hours or overnight. The wax will harden and be ready to use.
Release the Candle From the Mold:
To release the candle, gently bend and flex the silicone mold. You may need to run a butter knife around the edges to help remove the candle from the Mold.
Using Silicone Mold for Decorative Purposes
Choose Your Mold:
When using silicone molds for decorative purposes, you can choose a mold that is the right size and shape for your needs and has a unique design to give your decorations a creative touch.
Prepare Your Mixture:
Depending on what you are making, you will need to prepare a mixture of ingredients. For example, you must melt the wax when you make decorative candles. If you are making resin jewelry, you will need to mix resin and hardener.
Pour the Mixture into the Mold:
Once it is ready, pour it into the silicone mold. Make sure to fill the Mold and tap it gently on the counter to remove any air bubbles.
Allow the Mixture to Set:
Depending on the combination, you may need to allow it to be set for several hours or overnight. The mixture will harden and be ready to use.
Release the decoration from the Mold:
To release the decoration from the Mold, gently bend and flex the silicone mold. You may need to run a butter knife around the edges to help remove the decoration from the Mold.
Conclusion
Silicone molds are a versatile and valuable tool for creating unique and creative designs in the kitchen. They are easy to use, durable, and come in various shapes and sizes. Whether you are making soap, candy, or baking, silicone molds are an excellent investment for anyone looking to add a creative touch to their creations. Remember to choose a food-grade and non-stick silicone mold, prepare your mixture, pour it into the Mold, allow it to set, and gently bend and flex the Mold to release your creativity. With these simple steps, you can create unique and creative designs in no time.